
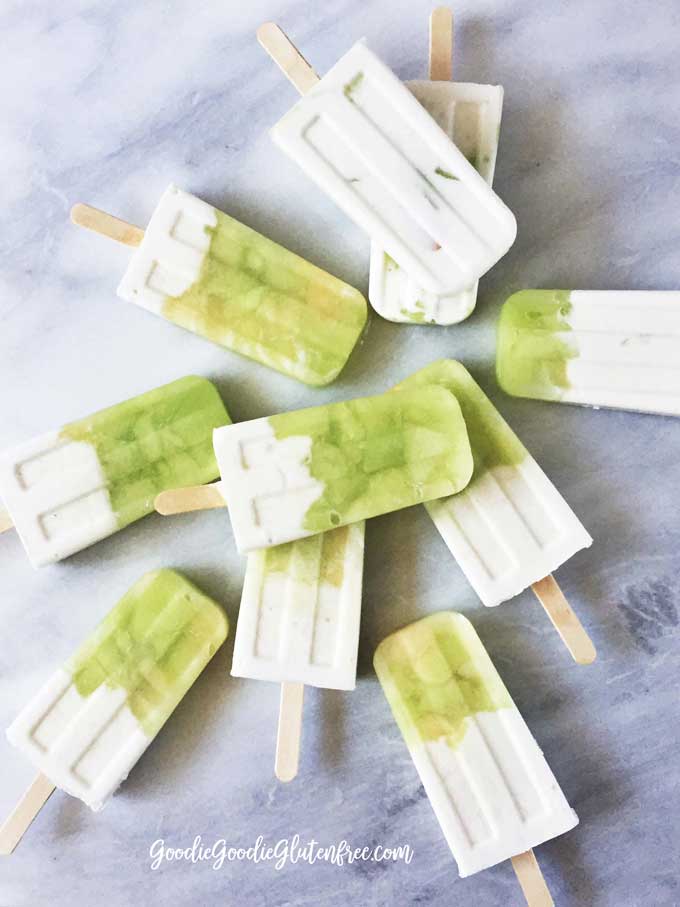
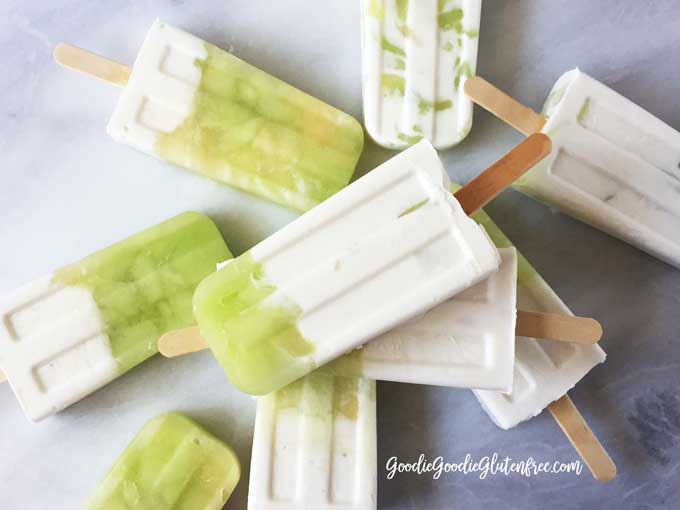
Honeydew Vanilla Yogurt Popsicles! Dairy-free, simple, refreshing, creamy, and deliciously healthy. Made with just a few ingredients and a blender. Low in sugar with just a touch of vanilla, and juicy chunks of honeydew melon. These popsicles are also paleo, vegan, and nut-free too!
THE DIFFERENCE BETWEEN RIPE HONEYDEW & NONRIPE HONEYDEW
Have you ever bit into a piece of seriously ripe honeydew and thought it tasted like candy? Most people think honeydew is a bland melon, and heck yes! It is if you eat it out of season. Out-of-season melon is bland and tasteless. The best time to use any fruit is when it's in season.
The difference between ripe honeydew and nonripe honeydew is taste, texture, and consistency. The riper the melon, the better and juicier it will taste. The flesh will be soft, and these three factors change everything, so don't give up on this fabulous fruit quite yet! When honeydew is ripe it tastes as sweet as a banana.
In New York, the Summer season is full of ripe juicy melons. They are so hydrating and full of water. It's when they will be their sweetest. But don't just open up a honeydew melon without it first sitting on the counter to ripen. No matter the season, a fruit must ripen to reap its FULL flavorful benefits.
INGREDIENTS
- Luscious ripe honeydew
- Unsweetened coconut yogurt or dairy-free alternative of choice
- Vanilla
- Stevia
FAVORITE SUMMER MELONS:
- Cantaloupe (popsicles, juices, and smoothies)
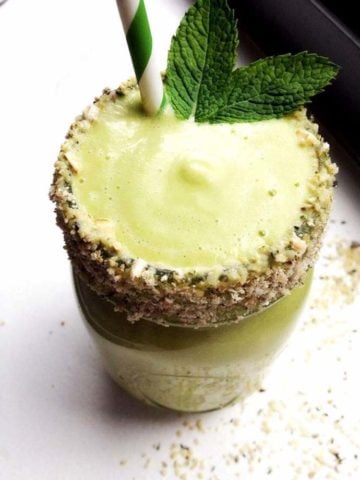
- Honeydew (popsicles, juices, and smoothies)
- Canary Melon (popsicles, juices, smoothies)
- Watermelon (popsicles and juices)
HOW TO MAKE HONEYDEW VANILLA YOGURT POPSICLES
Full recipe and exact ingredient measurements in the recipe card at the bottom of the post.
Step 1. In a high-speed blender blast together the coconut yogurt, stevia, and some water. Once blended set aside in a measuring cup or bowl.
Step 2. Chop the honeydew and add to a high-speed blender alongside some water. Blast until blended.
Step 3. Pour honeydew mixture into each popsicle mold ⅓-1/2 way full (or more, or less if desired). Then pour the yogurt mixture into each mold and fill to the top. Cover with lid, add popsicle sticks, and freeze for 4-6 hours, or overnight.

The beauty of making these popsicles is that you get to decide how much yogurt you want in each one, and how much melon you want. It's why I photographed them this way. I want you to feel comfortable in the kitchen. I don't want you to stress about the exact melon measurement or the exact yogurt measurement that goes into each popsicle. Each popsicle does not have to be created equal. You get a lot of control with this recipe, it's really up to you!
THE POPSICLE MOLD I SWEAR BY
- I only have one favorite popsicle mold. And you need it. It's the one I keep buying. No other popsicle mold compares.
MORE POPSICLE RECIPE INSPIRATION
- Cantaloupe Strawberry Popsicles
- Mixed Berry Watermelon Yogurt Popsicles
- Plum Watermelon Yogurt Popsicles
FAVORITE COCONUT YOGURTS
- Culina
- Coyo
- Cocojune
- Harmless Harvest

Honeydew Vanilla Yogurt Popsicles
Equipment
- popsicle mold
- popsicle sticks for 10
- high-speed blender
Ingredients
- ½ whole Honeydew melon, seeds removed ripe or overripe
- 15 ounces coconut yogurt unflavored, unsweetened
- 3 drops liquid stevia
- ¼ teaspoon vanilla extract
- ¼ cup spring water
Instructions
- In a high-speed blender blast the stevia, vanilla, and coconut yogurt until well blended. Then set aside. Rinse blender.
- On a cutting board, chop the honeydew into tiny chunks, and add to blender with ¼ cup of water. Blast till well blended.
- Pour mixture into popsicle molds ⅓-1/2 way full. More or less if desired. Fill the rest of the popsicle mold with the yogurt mixture. Cover with lid. Add popsicle sticks. Freeze for 4-6 hours.
- To remove popsicles from their molds run mold under warm or hot water until they loosen. Then pull them out. Store in the freezer for up to 4 months.
Notes
Health, and love,

Leave a Reply