
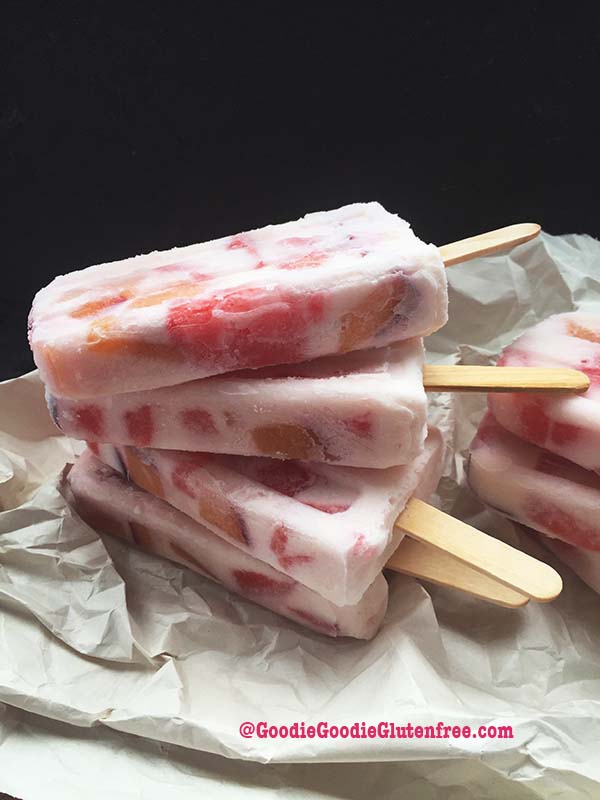
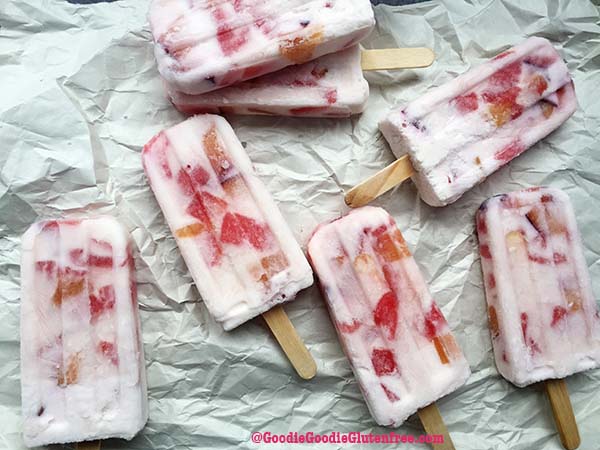
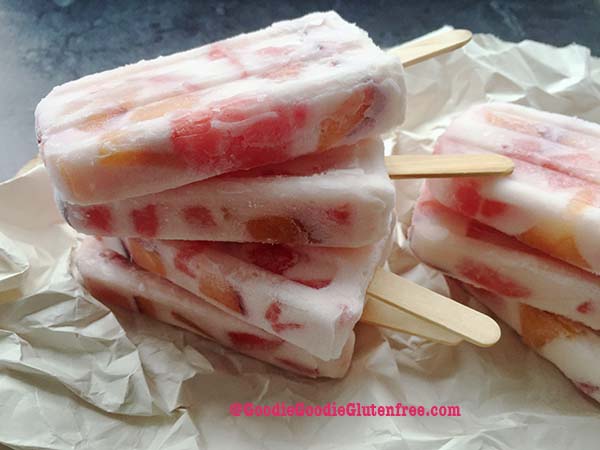
These Plum Watermelon Yogurt Popsicles are made with simple real food ingredients such as coconut yogurt, watermelon, and tart plums. Sweet and sour at the same time and no added sugars. Gluten-free, Vegan, paleo, and nut-free. A harmony of beautiful flavors everyone will enjoy!
WHY YOU'LL LOVE THESE PLUM WATERMELON YOGURT POPSICLES
- Ultra tasty and super sweet
- Made with billions of probiotics
- Easy to make
- Completely dairy-free, nut-free, and vegan too!
- Outrageous flavor combo
HOW TO EAT DESSERT ON A HEALTHY DIET
- When it comes to dessert, you don't have to eliminate it, you just have to find a dessert that is right for your body that is either sugar-free or low in sugar and free of all other allergens.
- Stick to real food desserts over fake diet desserts that use chemicals and additives.
INGREDIENTS
- Creamy coconut unsweetened yogurt (the tangier the better)
- Watermelon
- Plums (skin on)
- Spring water
- Stevia
HOW TO FIND THE RIGHT YOGURT FOR POPSICLES
- Strive for yogurts that are either 100% sugar-free, or have less than 8 grams of sugar per serving.
- Look for options that have no additives, fillers, or gums.
- Find unsweetened and tangy versions of your favorite yogurt.
- Make sure your yogurt is certified gluten-free, or gluten-free, or has a gluten-free safe process.
HOW TO MAKE THIS VEGAN POPSICLE RECIPE
Step 1. Break out your favorite popsicle mold/lid/popsicle sticks. Cut up fruit into ⅛th-¼" chunks and set aside in piles. Keep the skin ON the plums.
Step 2. Meanwhile, in a blender blast together the coconut yogurt, water, and stevia until thoroughly mixed.
Step 3. Pour ⅛-1/4 cup coconut yogurt mixture into each 10 popsicle molds. Then add a mixed small handful of fruit into the mold thereafter. Push the fruit down in order to optimize your fruit/coconut yogurt ratio. Then add another ⅛-1/4 cup coconut yogurt mixture followed by more fruit. Keep repeating this step until the molds are full.
Step 4. Cover the popsicle mold with a lid and add popsicle sticks. Freeze overnight.
Step 5. To loosen the frozen molds - run them under warm/hot water on all sides, including the top to loosen and wiggle the popsicles out of their molds. Enjoy!
Full ingredients measurements and details are in the recipe card below.
Want more vegan popsicles?
- Mixed Berry Watermelon Popsicles
- Blackberry Watermelon Popsicles
- Watermelon Papaya Popsicles
- Watermelon Plum Ice Pops
READY TO GATHER YOUR INGREDIENTS?

Dairy-Free Plum Watermelon Yogurt Popsicles
Equipment
- Popsicle Mold and sticks
- blender
Ingredients
- 1 cup unsweetened coconut yogurt
- 1 cup spring water
- 4 drops liquid stevia
- 2-3 cups chopped watermelon only with white seeds
- 2 whole small plums, chopped with skin
Instructions
- Break out your favorite popsicle mold/lid/popsicle sticks. Cut up fruit into ⅛-1/4-inch small chunks and set aside in separate piles. Keep the skin ON the plum.
- Meanwhile, in a blender blast together the coconut yogurt, water, and stevia until combined.
- Pour ⅛-1/4 cup full yogurt mixture into each 10 popsicle molds. Then add a small mixture of both fruits. Push the fruit down with your fingers until the yogurt mixture covers the fruit. Then add another ⅛-1/4 cup of yogurt mixture. Keep repeating this step until molds are full.
- Cover the popsicle molds with the lids and add the popsicle sticks. Freeze overnight.
- Repeat step 5 until each mold is full. What this will look like is yogurt mixture, fruit, push down, yogurt mixture, fruit, push down and repeat until the mold is full.
To Loosen the Popsicle Molds
- Once frozen run the mold under warm or hot water on all sides including lid to help loosen the popsicles.
- Store popsicles in the freezer in a sealed container or bag for up to 6 months.
Notes
- If you cannot access plums instead use kiwi, strawberries, blackberries, and any other super tart fruit - no skin.
- If you cannot have coconut feel free to use any unsweetened tart and creamy yogurt of your choice.
Love, and health!

Emily says
So refreshing! I loved every sweet and tart bite. I love each and every one of your delicious and easy-to-follow recipes!
Julie Rosenthal says
Emily thank you so much! That means the world to me. Sweet and tart are right. Oh so good!
Cassie says
This looks incredible! Perfect for a refreshing summer treat!
Julie says
Thanks Cassie! These are totally delicious!