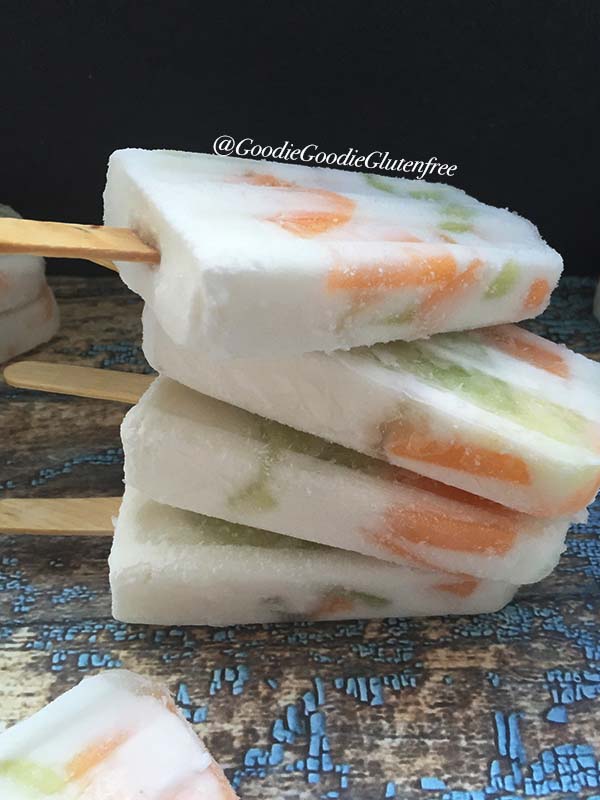
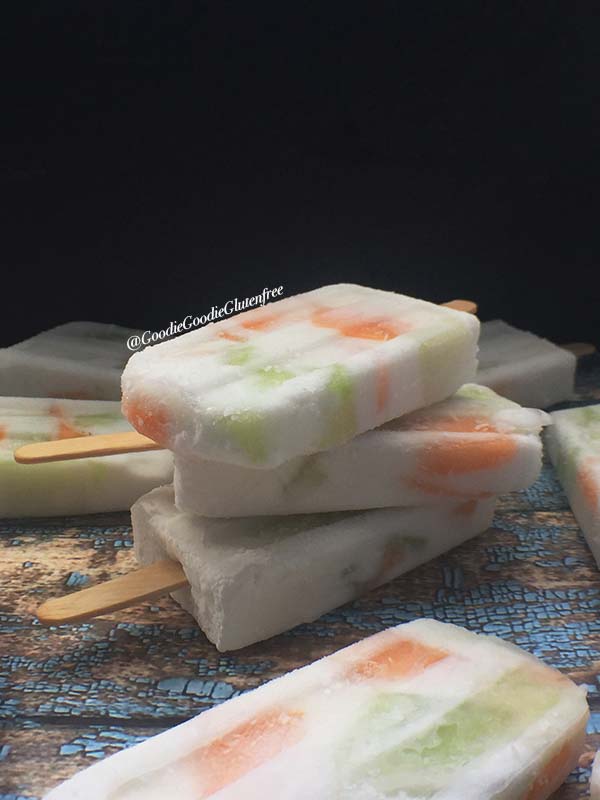
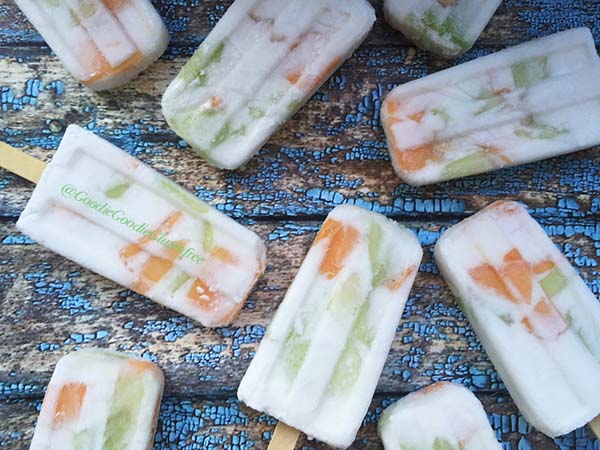
Melon lovers, unite! These Dairy-free Cantaloupe Honeydew Popsicles are hydrating, refreshing, and full of melon flavor. Packed, and loaded with fruit, and still taste like dessert. Gluten-free, dairy-free, nut-free, and vegan.
WHY YOU'LL LOVE THESE MELON POPSICLES
- Only 5 ingredients including water
- Dairy-free, gluten-free, sugar-free, paleo, vegan, nut-free, corn-free, and soy-free
- Super creamy
- Juicy chunks of fruit in every bite
- Doesn't require an oven - No bake!
There is nothing I love more than finding real food dairy-free and sugar-free treats that don't use chemicals to sweeten. So many sugar-free treats today use chemically sweetened fake sugars. These ingredients can cause digestive upset for anyone suffering from Leaky Gut, SIBO, candida, Celiac, Crohn's, and others. In the end, the dessert isn't worth it.
This is why I prefer using whole foods, and real food to create my recipes, including all dessert recipes. I've learned that certain things do not belong in our body even if it is dessert. If you're gonna treat yourself, It may as well be good for you in the process.
When you are healing your body and end up on an elimination diet finding a sweet treat that is "elimination diet approved" is essential. The only form of sugar used for this recipe is fruit and pure stevia.
INGREDIENTS
- Cantaloupe
- Honeydew
- Coconut Yogurt, full fat
- Pure liquid stevia from the stevia plant (not the sugar packets you see at the market)
HOW TO MAKE CANTALOUPE HONEYDEW POPSICLES
For exact recipe measurements and directions see the recipe card at the bottom of this post.
Step 1. In a high-speed blender combine the coconut yogurt, water, and stevia and blast until well combined. Set aside for future use.
Step 2. Chop the honeydew and cantaloupe melon into small chunks. Remove pits.
Step 3. Pour coconut yogurt mixture from Step 1. into each of the ten popsicle molds about ¼ cup full. Then add a few pieces of each fruit into each mold. Push the fruit down and let the yogurt cover the fruit.
Step 4. Then pour another ¼ cup full of coconut yogurt mixture into each mold, and add more fruit. Push the fruit down, and allow the coconut mixture to cover the fruit. And keep repeating this step until each mold is full. Cover with lid. Add popsicle sticks. And, Freeze for 6 hours or overnight.
Step 5. To loosen the popsicles run the mold under warm or hot water until you can wiggle the popsicles out of their molds. Store in the freezer for 4-6 months in a sealed container or bag.
ARE ALL COCONUT YOGURTS OKAY TO USE?
- No. First, you must find a coconut yogurt that is either certified gluten-free, or gluten-free. You'll need to call the manufacturers and speak about the cross-contamination process, and what else the facility manufactures.
- Secondly, you'll want to choose a coconut yogurt that uses 2-4 ingredients that are natural, and easy to read
- Then check the sugars on the ingredient list. Ideally under 6 grams of sugar per serving is a good place to start.
- Lastly, tangy is the way to go when it comes to these popsicles. These honeydew popsicles are meant to taste tangy over sweet, which is why you want less sugar in your yogurt. With less sugar in your yogurt, there is less sugar in your diet and therefore less sugar in your body.
- My favorite coconut yogurts to use are Culina, Cocojune, Harmless Harvest,
WANT MORE POPSICLE RECIPES?
- Cantaloupe Strawberry Popsicles
- Mixed Berry Watermelon Popsicles
- Honeydew Vanilla Yogurt Popsicles
- Dairy-Free Plum Watermelon Popsicles
Dairy-Free Cantaloupe Honeydew Popsicles
Equipment
- Popsicle Mold and sticks
- food processor
Ingredients
- 1 cup unsweetened coconut yogurt
- 1 cup filtered spring water
- 1 cup honeydew ripe, chopped
- 1 cup cantaloupe ripe, chopped
- 4-6 drops liquid stevia
Instructions
- In a high-speed blender, combine the coconut yogurt, water, and liquid stevia and blend till well combined. Set aside for future use.
- Chop the Honeydew melon and the Cantaloupe Melon and set aside. Remove pits.
- Pour coconut yogurt mixture into each popsicle mold (about ¼ cup full) for each of the 10 molds. Then add a few pieces of each fruit into each mold and with your fingers push the fruit down until the yogurt mixture covers the fruit.
- Then pour another ¼-inch cup of yogurt mixture into the popsicle molds, followed by more fruit. Repeat step 3 until each mold is full. Then freeze for 6 hours or overnight.
- To loosen the popsicles, run the mold under warm or hot water until the popsicles wiggle out of the molds. Store in the freezer in a sealed container or bag. Store for 4-6 months.
Notes
Love, and health,

 Like Goodie? Wanna fall in love? Follow me on
Leave a Reply